So, somehow you just lost or deleted all or some photos from your android phone? In that case, you are not alone, as most Androids users often face the same issue while using their phones.
However, the fact is deleting your favorite on your Android phone doesn’t mean you lost them forever. That is because there are some ways that you can follow to recover deleted photos in android.
You can recover the deleted photos through recycle bin, Google Photos as well as different recovery software.
Well, want to know about them in detail? Follow this article to know about them and their usability.
How To Recover Deleted Photos Android [3 Easy Steps]
As we have already said, there are many different ways that you follow to recover deleted photos of your android phone. Here we’ve included some ways with step by step instructions that you can follow:
1. Check The Recycle Bin
Most of us go crazy whenever we delete important pictures from our phones. And we also forget that there is an option named recycle bin (different phones have different names) that allows restoring photos even after deleting them.
However, most of the recycle bins or trash come with a limited storing duration, such as 30 to 90 days. After a certain time, the trash or recycle bin will automatically delete the photos.
And if you have just deleted some photos, then follow the steps below to recover them:
- Go to the “Gallery” option on your phone

- Then you’ll see a lot of folders and scroll down below
- The recycle bin or trash should be on the bottom side
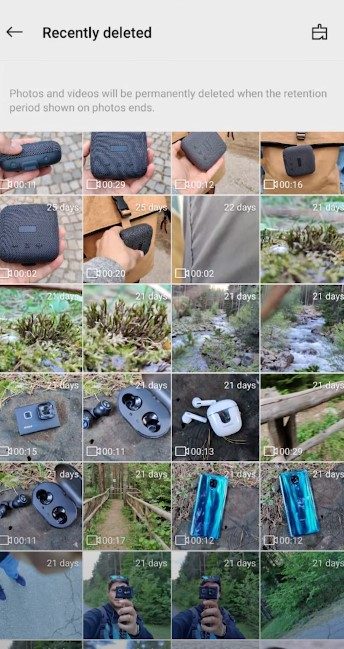
- Launch the recycle bin folder and select the photos you want to recover
Note: See, you can easily recover your deleted photos through your phone’s recycle bin. However, here you can select individual photos as well as select all the photos to restore them.
2. Use The Google Photos
The Recycle Bin or Trash option is only available if you haven’t deleted photos from the Recycle Bin as well. However, what about wiping the photos from the recycle bin too? Can you still recover them?
Fortunately, Yes you can. If you have Google Photo installed on your phone as well as enabled the “backup & sync” facility, you can easily recover the deleted photos.
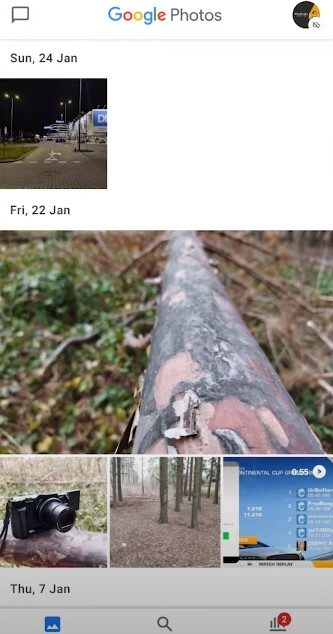
Google Photos is Google’s premier photo storage and sharing app which is free. So how are you gonna recover the deleted photos from your Google Photos? Simply follow the steps below to get an instruction:
Step: 1 – Open the Google Photos app from your device
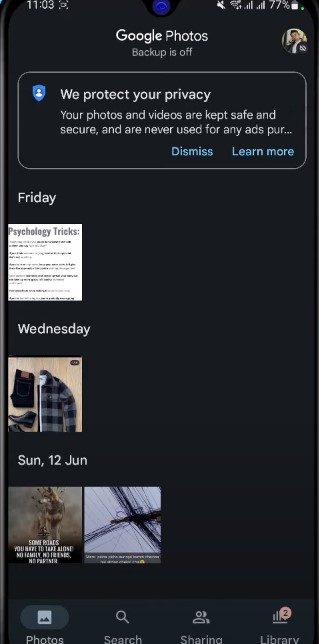
Step: 2 – Then select the “Library” option from the below several options
Step: 3 – Once tap on the “Library” option now you’ll see a lot of options including “Trash”
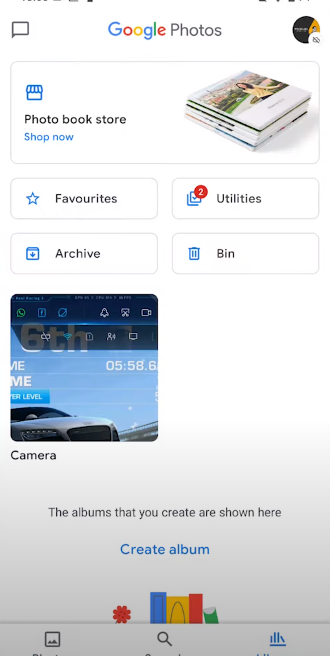
Step: 4 – Tap on the “Bin” and then all the deleted photos
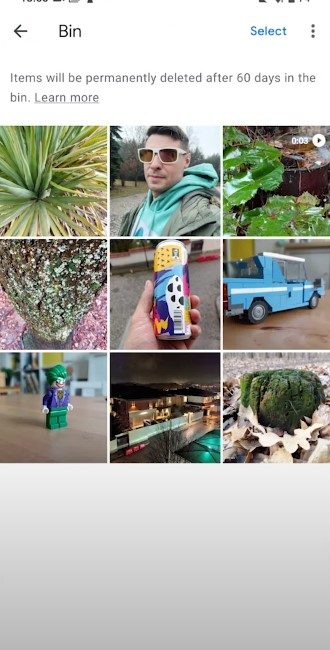
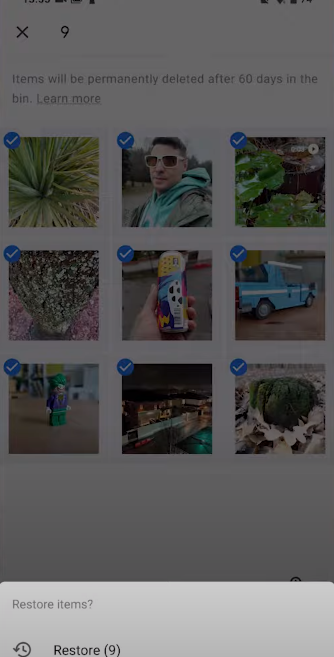
Step: 5 – After that choose your desired photos and then choose “Restore” option to complete the recovery.
Note: It’s fairly easy to recover the photos from Google Photos. However, remember that Google Photos will only store all the deleted photos for 60 days. And if you want your photos back even after 60 days, then check out the fourth and fifth method of this video; it’ll help:
3. Utilize Photo Recovery Software
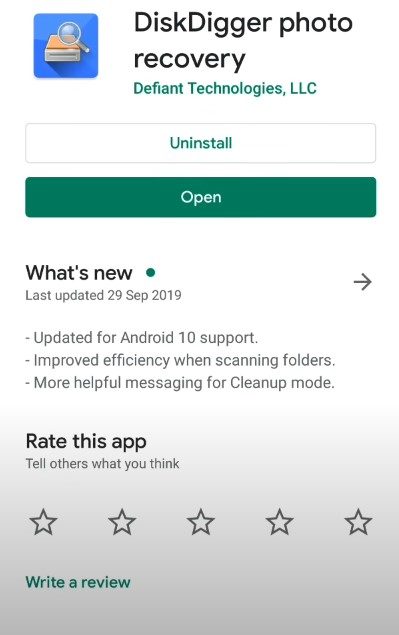
Another effective solution you can follow to recover deleted photos of your android phone is using recovery software. Well, you can use the DiskDigger app available in the play store.
This app can be used on both rooted and non-rooted phones. And here we’ll show you how to recover deleted photos on android with DiskDigger on a non-rooted phone. Have a look:
Get The App:
Install the DiskDigger app on your phone, and you’ll find this app on the Play Store
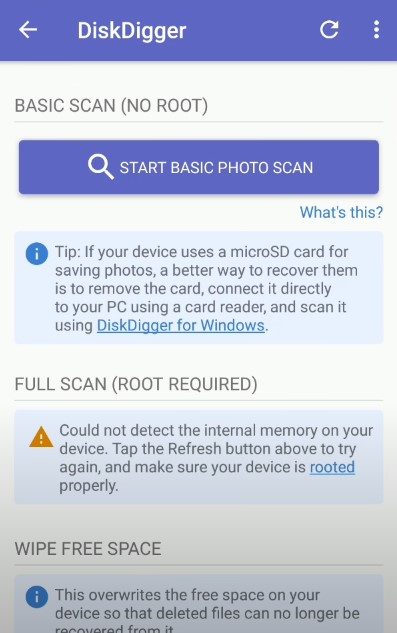
Launch It On Your Phone:
Launch the app and allow every permission this app will ask you. Allow everything and then select the “START BASIC PHOTO SCAN” option.
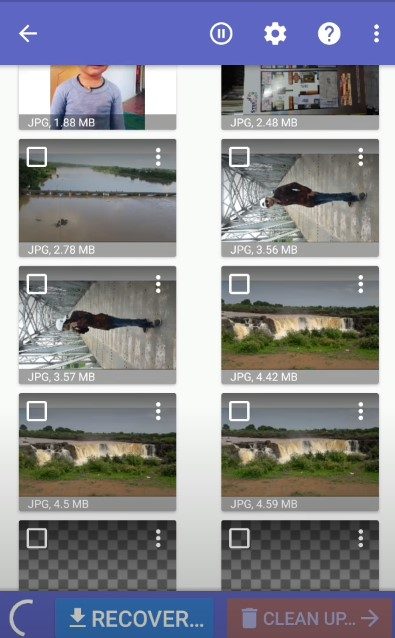
Select Photos:
Now the process will begin, and it will take a little time. Select your desired photos and then click on the Recover option.
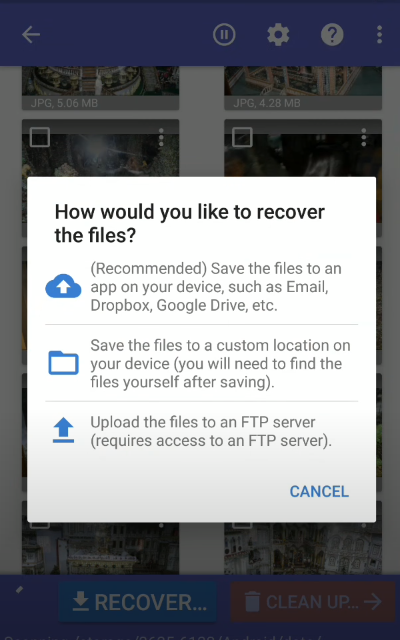
Save The Photos:
In the end, the app will ask you to select a location to save the restored photos. Select your desired location and you’re done.
Note: You may not be able to get the best quality with a non-rooted phone and the free version of this app. Therefore, switch to the pro version of this app and also try to use a rooted phone for recovering deleted photos with a full resolution.
Read Also: How to Recover Deleted Photos From Facebook?
What Should You Do To Prevent Photos Losing On Your Android Phone?
If you don’t want to experience photo-losing issues or don’t want to get through the recovery system, there are some steps you can take. You can opt for the cloud backup facility to back up all your necessary photos.

On the other hand, you can also use a backup app that will automatically backup your photos after clicking them. Plus, when using any backup app to back up your photos, remember to set the app to work only under Wi-Fi.
Otherwise, the backup app can cause issues with your mobile data as well as the battery life of your phone.
Closing Thoughts
Once you know some reliable methods to recover deleted photos on android, you have to worry about it. Now you can easily recover all the deleted media files and again store them somewhere securely.
When it’s about any photo or media file that is really important, simply store them on your computer or any cloud service. So that you’ll have nothing to worry about even after accidentally deleting any photo.
However, the second and third methods would be the most efficient among all the recovering methods. So, simply try the method you feel good about using, and don’t forget to follow the step-by-step instructions for the preferred result.