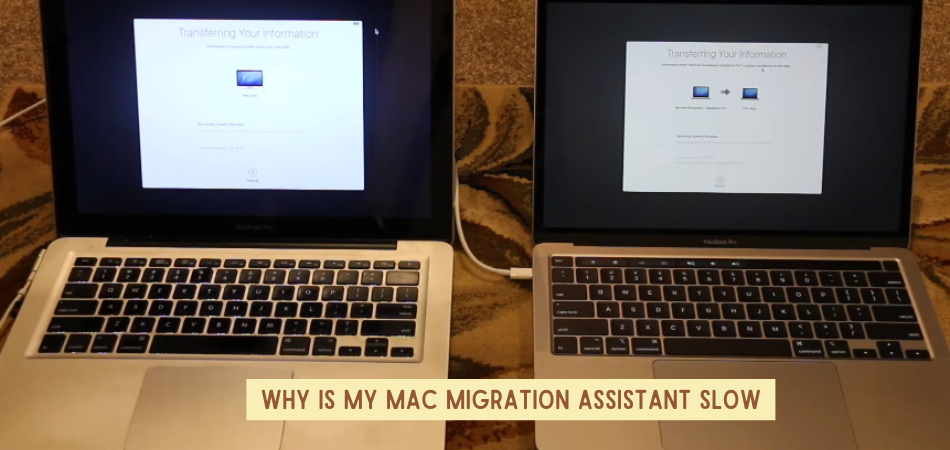
Suppose you’ve gotten your hands on a new MacBook. Now comes the part where you have to transfer all of your stuff from the old MacBook to the new one. It is a time-consuming process that is done by the Migration Assistant app. The Mac Migration Assistant Slow sometimes happens.
Your Mac Migration Assistant could be slow because of unstable or slow Wi-Fi, a temporary transfer bug, issues with the hard drive, or directory damage.
Let’s get deeper into why the Migration Assistant runs slower than usual and how to speed it up.
Why Is My Mac Migration Assistant Slow?
Getting a new MacBook is always an exciting thing. But then there is the next step when you will have to get all of your important stuff, files and folders migrated into the new Mac and make it ready for use.
There’s an app for this exact purpose from Apple which is the Migration Assistant app.

It can take 2 hours and 44 minutes to migrate 250 GB of data to a new MacBook over a Wi-Fi connection of 802.11 ac. Sometimes it takes a longer amount of time for this migration to take place.
Here are some of the possible reasons why your Mac Migration Assistant is Slow.
1. Unstable Or Slow Wi-Fi Connection
The main reason for your Mac Migration Assistant Slow is very likely to be your unstable Wi-Fi connection. It is not ideal to migrate your Mac to a new device over Wi-Fi.
Any kind of interference in the radio signals around your home might affect the Wi-Fi. If the router is behind a wall, on the other side of the door, or far away from the device, the Mac Migration Assistant might get affected by it.
The speed measure over the Wi-Fi is also not what it seems. When it says 300 Mbps, it is not 300 megabytes per second, but rather 300 Megabits per second.
Moreover, the megabit is 8 times smaller than Megabyte. So, it is actually much slower than you realize.
2. Temporary Transfer Bug
Many users have complained about transfer bugs while using the Migration Assistant.
It occurs in the Applications folder mostly. Transferring the Applications folder may cause the Mac Migration Assistant to get stuck or become extremely slow.
It could be because of a temporary transfer bug in the Applications folder.
2. Hard Drive Issues
A problem with your hard drive can also be the reason your Mac Migration Assistant is super slow. There’s no way to know about this issue until you run a diagnosis for it.
The hard drive issue can be either in your old Mac or the new one you’re transferring into.
How Do I Speed Up Mac Migration Assistant?
After figuring out the causes of the Mac Migration Assistant getting slow, you should be working to speed up the process. We can recommend some methods by which you can speed up your Mac Migration Assistant.
Use Ethernet Cable to Migrate Your Data
Considering the manufacturer’s trick of the Wi-Fi speed, it is better to use Ethernet cables for migrating your data through the Mac Migration Assistant. An Ethernet cable is a much more reliable choice for connecting two Mac devices.

Using Ethernet cables to migrate the data can bring the time to one-half of the time it takes over the Wi-Fi. The migration of 250 GB of data can be over within 1 hour and 33 minutes over Ethernet.
Don’t Migrate Applications Folder
If your Mac Migration Assistant is getting stuck or slowing down because of your Applications folder, then it is best not to migrate it to the new Mac.
You can always download the apps to the new MacBook from the Apple Store. So, there is no need to transfer the whole Applications folder.
When you are checking off the boxes in the Mac Migration Assistant in the ‘Select information to transfer’ screen, don’t tick the Applications folder. Eliminating it will let the migration process be over quickly.
Run A Hard Drive Diagnosis
You need to check if any of the two devices have hard drive issues going on. In order to check and fix it, follow these steps:
Step 1: Make sure the MacBook is turned off completely.

Step 2: Press the power button and instantly press the D key on the keyboard at the same time.
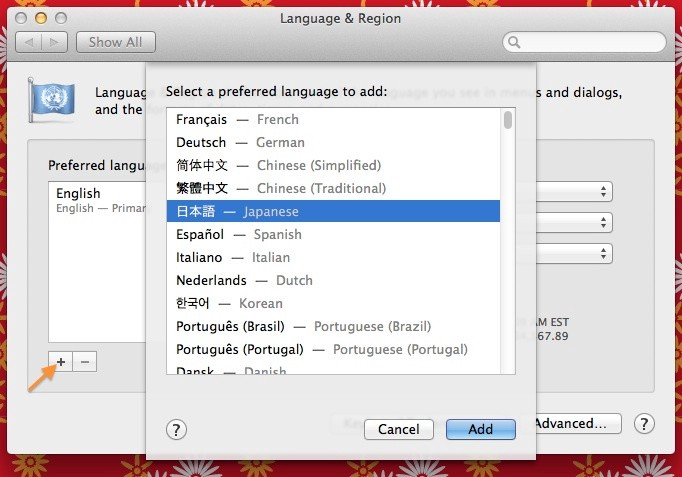
Step 3: Select your preferred language on the screen.

Step 4: Choose Perform Extended Testing from the next page.
Step 5: Click on Test to start your hard drive diagnosis. It might take a long time to be completed so make sure not to turn off your Mac midway.
Step 6: If there are issues in the hard drive found after the test, Click on Get Started. That will start fixing the issues internally.
Step 7: Run this diagnosis on both devices and get rid of the hard drive issues.
Read Also: How Long Does Migration Assistant Take?
What is The Safest and Fastest Way to Transfer Data between Two MacBooks?
Starting a new Apple computer will ask you to transfer data from an old computer. When this command appears, if you select yes, it’ll instantly open the migration assistant app and allow you to connect your Mac with other computers.
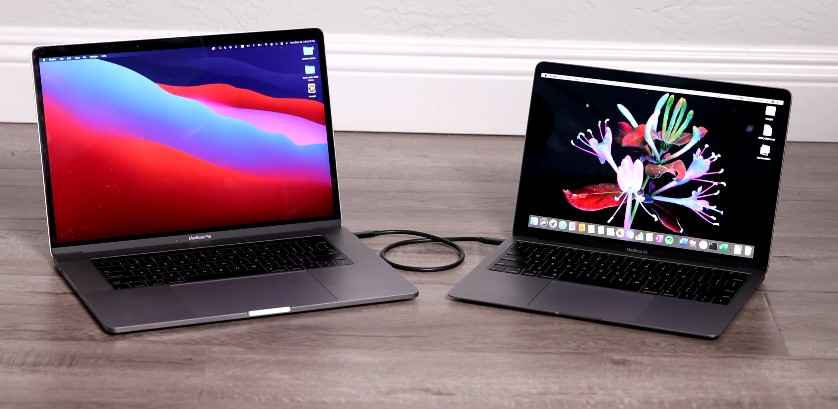
There are plenty of options through which you can connect the two computers, like Wi-Fi, Ethernet, and thunderbolt USB-C cable.
Wi-Fi: It is the slowest option. If both computers are connected via Wi-Fi, transferring the data may take a day.
Ethernet: Ethernet is a far faster and better option than Wi-Fi. But still, it’s a fairly slower option than the USB C.
Thunderbolt USB-C cable: It is the fastest way to transfer data between Mac computers.
NB. To conclude, Wi-Fi is the slowest option, Ethernet is faster than Wi-Fi, and USB-C cable is super fast among all of these. Ethernet can transfer data at 1Gbps speed, and thunderbolt USB-C cable can transfer files 40Gbps. This means USB-C cable is 40 times faster than Ethernet.
Bottom Line
So, now that we have figured out the causes of Mac Migration Assistant Slow and even how to speed it up, there must not be much trouble to complete the migration.
Using an Ethernet cable tends to solve the issue for 80% of the users right away. Therefore, it is highly recommended to try that method first.
Also, make sure that the Mac Migration Assistant app on both devices matches and is of the same version. Otherwise, none of the methods will work.